d. IAM Role Setup
The main account owner must complete the following steps to create an IAM Role with administrative access and assign it to the Cloud9 instance.
Create IAM role with Administrator Access
In this step, you will create an IAM Role and assign it administrative access permissions (via a Policy), and then configure your Cloud9 to use that Role for the remainder of this workshop.
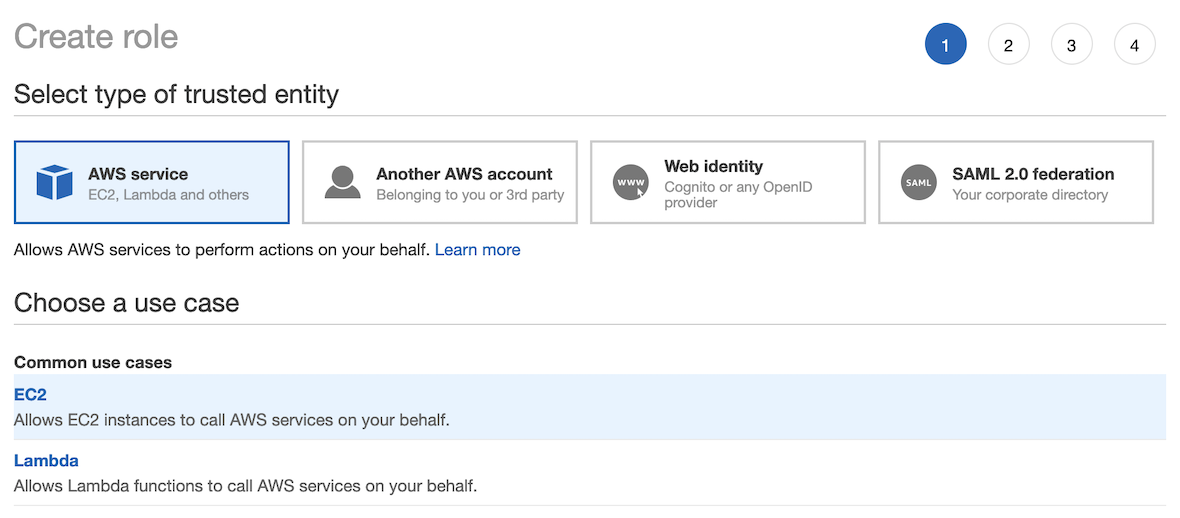
- Open the IAM console link to create an IAM Role.
- Confirm that AWS service and EC2 are selected, then click Next: Permissions to view permissions.
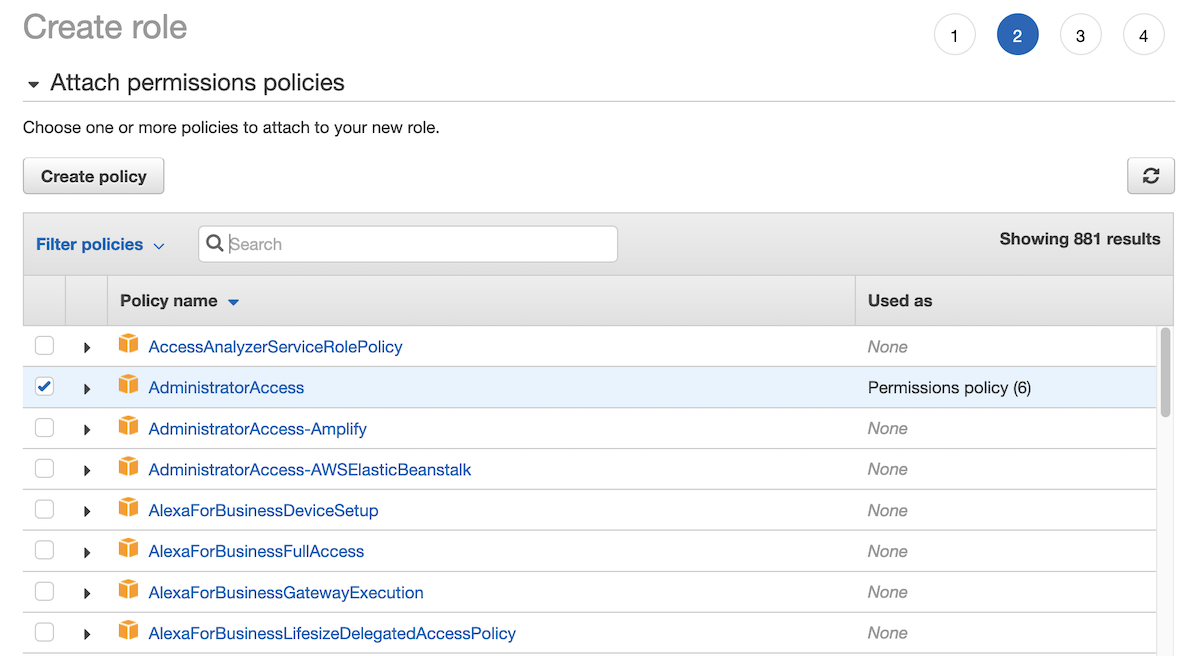
- Confirm that AdministratorAccess is checked, then click Next: Tags.
- Keep the defaults, and click Next: Review to review.
- For Role name, enter cloud9-hpcworkshop-admin
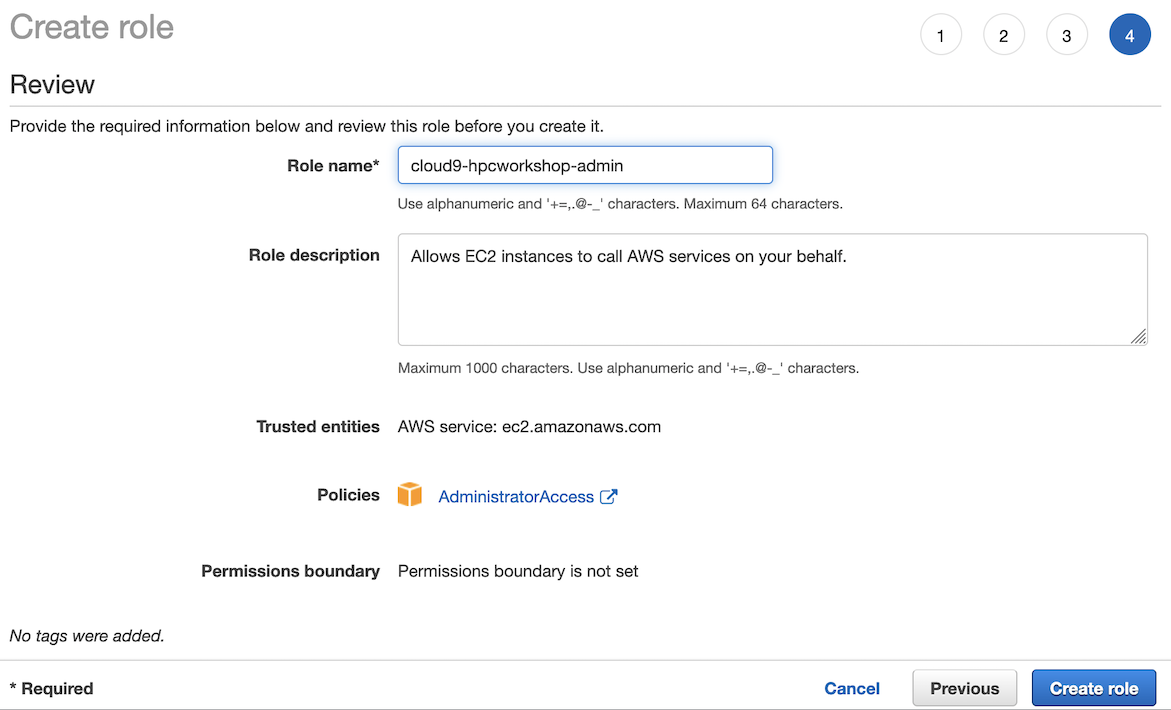
- Choose Create role.
Associate the IAM Role with the Cloud9 Instance
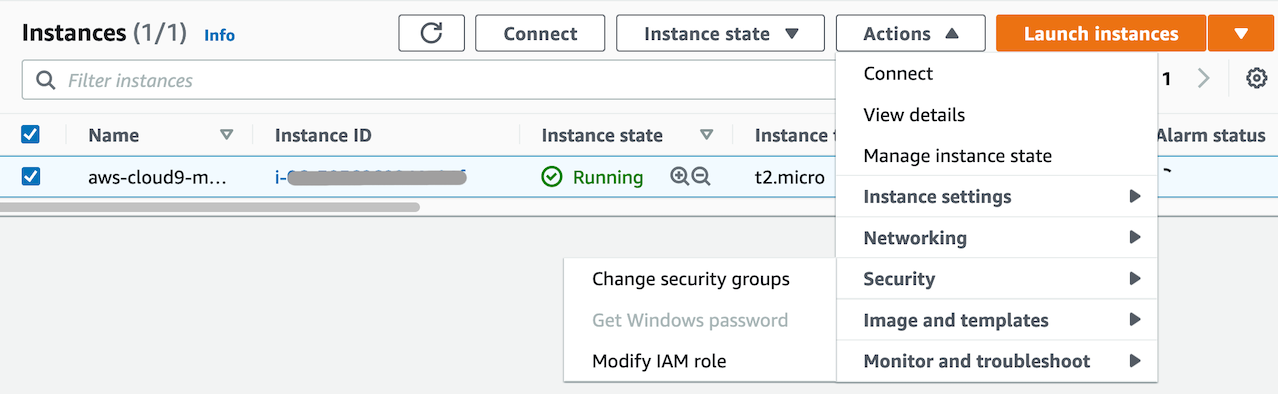
- Open the Amazon EC2 link to find your Cloud9 instance.
- Select the Cloud9 instance.
- For Actions, choose Security, select Modify IAM Role.
- For the new IAM Role, choose cloud9-hpcworkshop-admin

- Choose Save.
Disable AWS Managed Temporary Credentials
- Open your Cloud9 environment, and click on the top edge of the content pane to show the Cloud9 menu if not visible.
- Choose the gear icon in top right corner to open the Preferences tab.
- In the Prefereneces tab, choose AWS SETTINGS.
- Turn off AWS managed temporary credentials
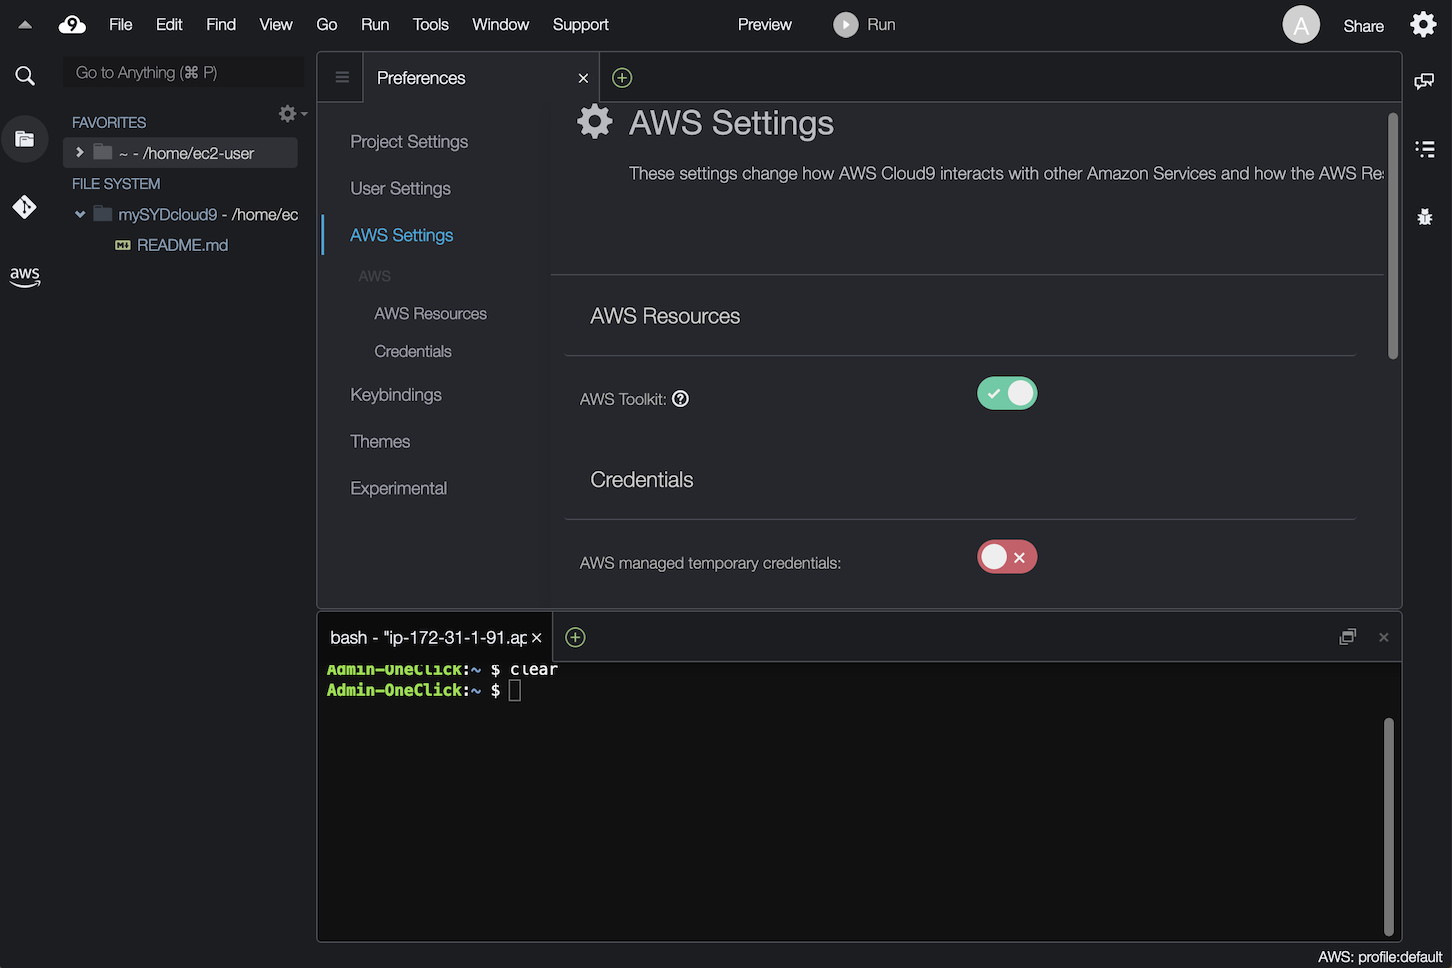
- Close the Preferences tab.
You are now ready to explore and learn AWS Batch.