e. Job Lifescycle
Congratulations! You just submitted 1,000 jobs to AWS Batch. In this step, you explore the lifecycle of a job submitted to Batch.
The AWS Batch job lifecycle
When you submit a job to the Job Queue, the job begins in the SUBMITTED state and then transitions to the RUNNABLE state. AWS Batch regularly looks at the Job Queue and evaluates the requirements (vCPUs, GPUs, and memory) of the RUNNABLE jobs. Based on this evaluation, the service identifies if the associated Compute Environment needs to scale-up in order to process the jobs in the queue.
To scale-up the Compute Environment, AWS Batch generates a list of instances based on the jobs’ compute requirements (number of vCPUs, GPUs and memory) and the instance types you selected when configuring your Compute Environment. Once defined, the list is provided to Amazon EC2 who will request instances based on the Allocation Strategy selected. This process is done via an Auto-Scaling Group (ASG) or a Spot Fleet.
Once instances are created, they register with the Amazon ECS cluster connected to your Compute Environment at which point the instances are ready to run your jobs.
The jobs that are RUNNABLE will transition to the STARTING then RUNNING states and will remain in this state until completion. When there are no jobs in the RUNNABLE state and instances are idle, then AWS Batch requests that Amazon ECS deregisters them from the cluster, terminates them, and scales-down the ASG or the Spot Fleet associated to your Compute Environment.
Jobs placement onto instances
While the Compute Environments are scaling up and down, AWS Batch continuously asks Amazon ECS to place jobs on your instances by calling the RunTask API. If there is room on an instance, then the job is placed. Otherwise, Amazon ECS provides a reason on why the placement was not successful such as a lack of available resources to run the job.
To explore the Job Queue
- Open the AWS Batch console to see the AWS Batch Dashboards (link)
- Observe the 2 submitted arrays in the Job queue overview.
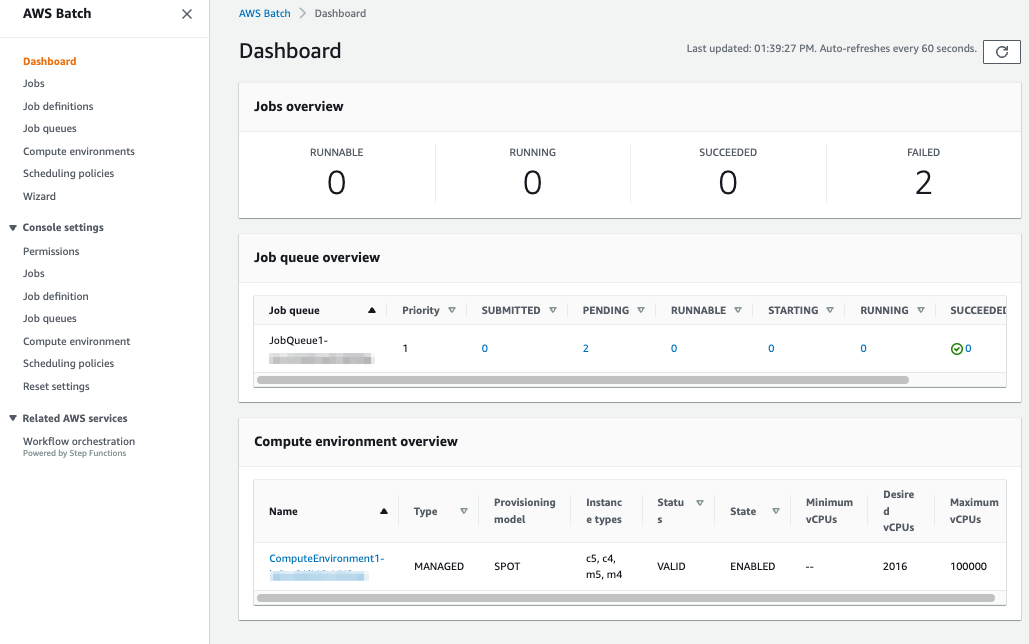
- Choose the 2 pending jobs.
- Choose one of the 2 jobs.
- Observe as the individual jobs transition from
RUNNABLE–>RUNNING–>SUCCEEDED.
Next Steps:
In the next section, you will look at Instance provisioning.