b. Create your AWS Batch Architecture
In the previous step, you successfully deployed the VPC template. In this step we will deploy your AWS Batch environment within the VPC.
Both templates can be found in the repository of the monitoring solution or directly here for the VPC stack and here the AWS Batch stack.
We are going to go through how to deploy the AWS Batch CloudFormation template both through the console and by using the AWS CLI.
To deploy the Batch CloudFormation stack (console)
-
Download the Batch CloudFormation Template
-
Open the AWS Cloudformation console (link).
-
For Create Stack, choose With new resources.

-
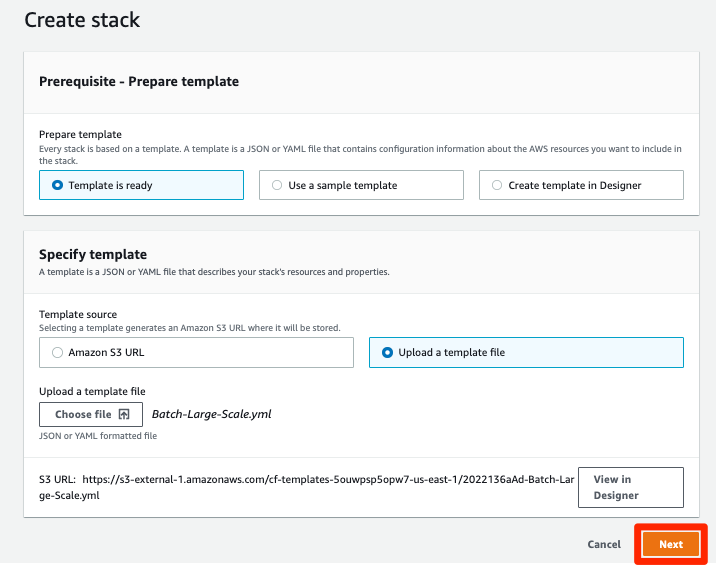
In the Create stack section, do the following:
a. Choose Template is ready.
b. Choose Upload a template file.
c. Choose the AWS Batch CloudFormation template you downloaded in step 1.
d. Choose Next.
-
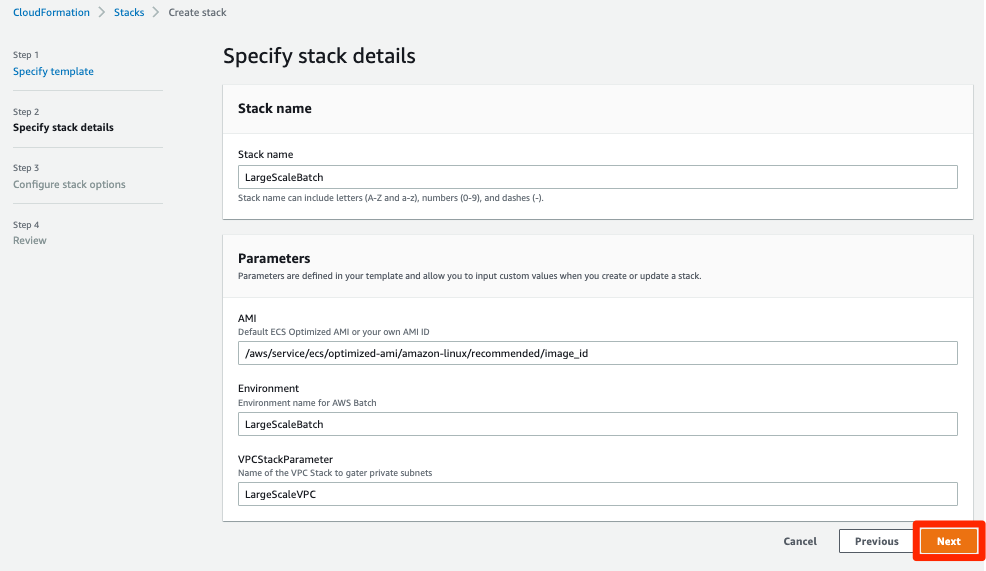
In the Specify stack details section, do the following:
a. For Stack Name, enter
LargeScaleBatch.b. Leave the Parameters settings with their default values.
c. Choose Next.
-
Leave all the fields in the Configure stack options at the default values. Choose Next.
-
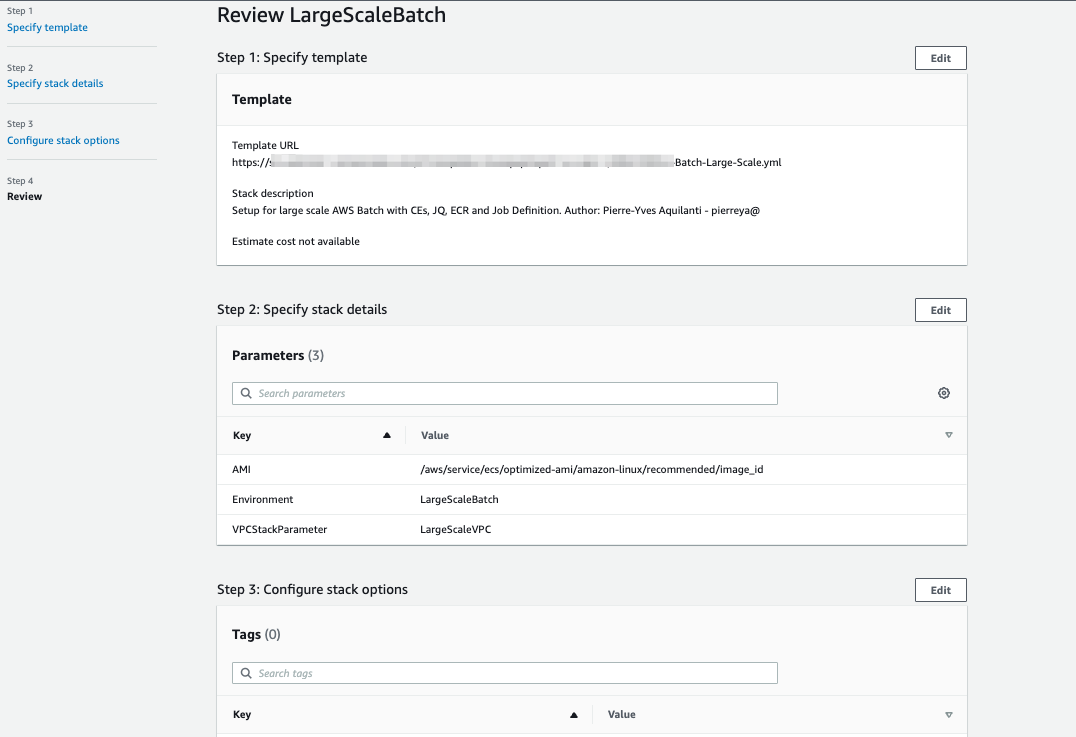
In the Review section, do the following:
a. Review the stack details.
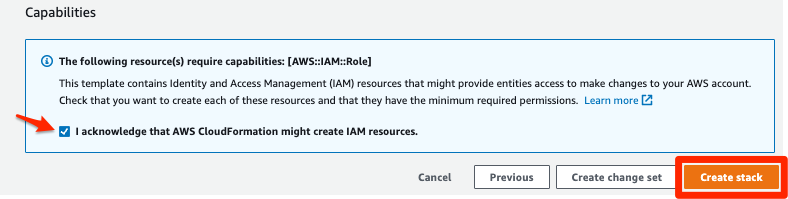
b. Select to acknowledge that the AWS CloudFormation might create IAM resources.
c. Choose Create stack.
The stack will now be created and all the resources in the template will be deployed. Wait until you see CREATE_COMPLETE before you deploy the stack in the next step. The deployment should only take a few minutes.
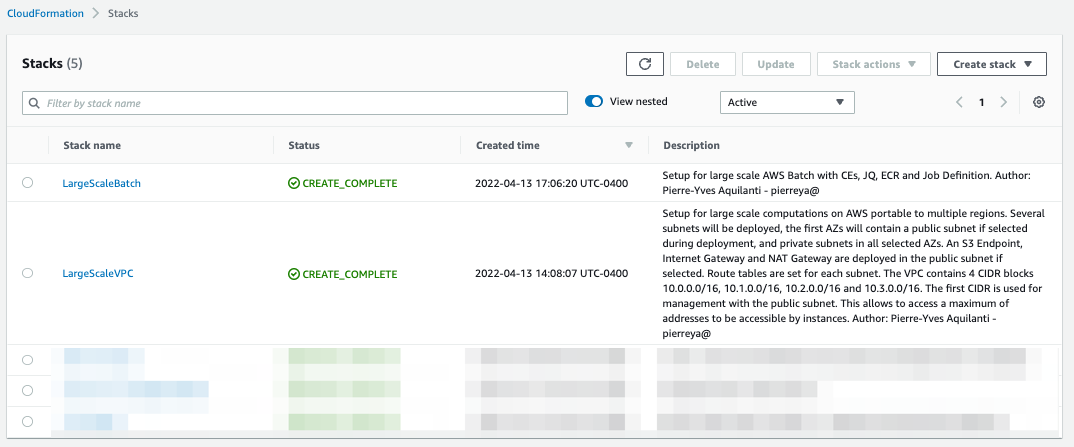
We have now deployed the AWS Batch CloudFormation template using the Amazon Console. Below are the instructions if you would like to deploy using the AWS Cli.
To deploy the Batch CloudFormation stack (AWS CLI)
- Note the stack name of your VPC stack created in the previous step. To deploy the AWS Batch CloudFormation stack you must provide the name of your VPC Stack as a parameter.
- Copy the code block below.
- Modify for the VPC stack name
#!/bin/bash
aws cloudformation create-stack --stack-name BatchStack \
  --template-body file://1.BatchLargeScale.yaml \
  --parameters ParameterKey=VPCStackParameter,ParameterValue=LargeScaleVPC \
  --capabilities CAPABILITY_NAMED_IAM
- Submit the code block.
The stack will now be created and all the resources in the template will be deployed. Wait until you see CREATE_COMPLETE before you deploy the stack in the next step. The deployment should only take a few minutes.
Next Steps
At this point you have successfully deployed both your Large Scale VPC stack and Large Scale Batch Environment. This stack configures:
- Your Batch Compute Environments, Job Queues, and the Job Definition for the tests.
- Your CEs in every private subnet of your VPC. The CE uses the Spot Capacity Optimized allocation strategy and is set to scale between 0 to 100,000 vCPUs. The deployed CE is configured to pick instances from the m5, m4, c5 and c4 families.
- An Amazon Elastic Container Registry (ECR) is created to store your container image, it is already referenced to in the Job Definition.
In the next section you will build and upload your container.
Quick Overview of Spot Instances
Many customers use Amazon EC2 Spot Instances to save on their compute cost. Amazon EC2 Spot Instances offer spare compute capacity available in the AWS cloud at steep discounts compared to On-Demand instances. Spot Instances enable you to optimize your costs on the AWS cloud and scale your application’s throughput up to 10X for the same budget.
Spot Instances can be interrupted by EC2 with two minutes of notification when EC2 needs the capacity back. You can use Spot Instances for various fault-tolerant and flexible applications, such as big data, containerized workloads, high-performance computing (HPC), stateless web servers, rendering, CI/CD and other test & development workloads.